|
| Original photo by me. I grew the flower, too. |
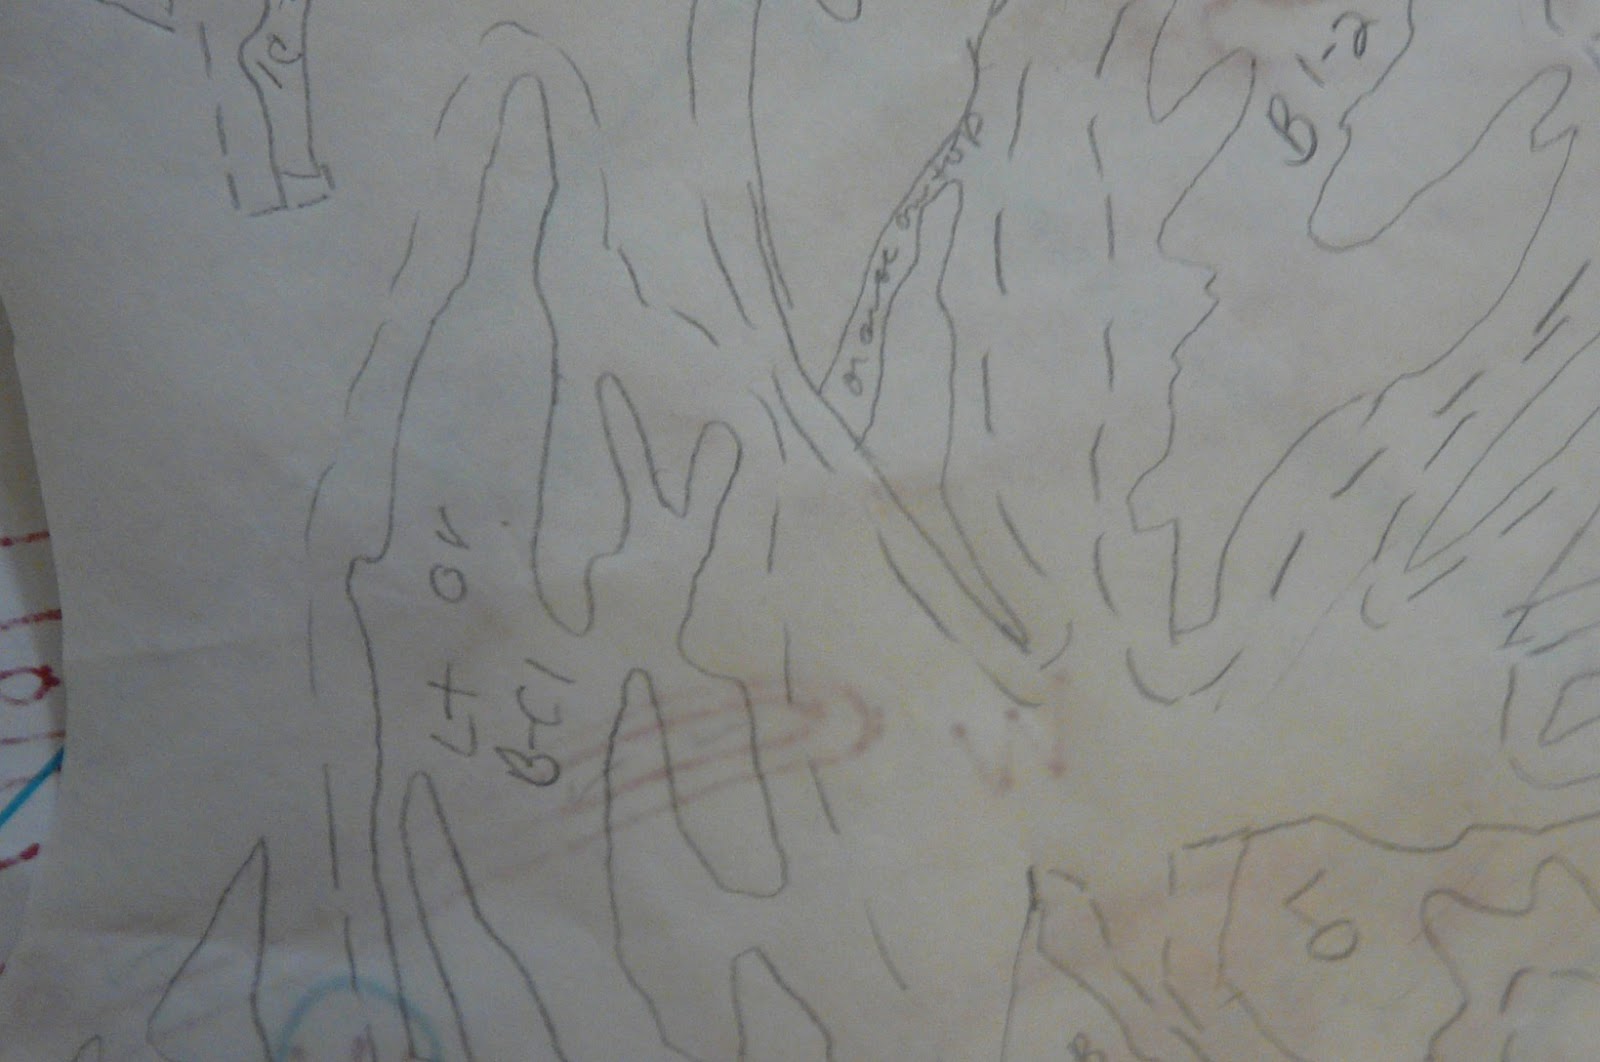
I’ve been busy. I took a photo from my garden, photoshopped it to
narrow & alter the color range a bit, printed on (I think) 18 sheets
of paper & taped those together. Outlined color areas with a red
Sharpie so that the outlines would be visible on the back side of the
paper, and color coded each area. The large drawing (cartoon in
artspeak) is divided into a 6 x 6 grid with a blue Sharpie, to make it
easier to figure out where the pieces go.
 |
| altered photo |
 |
| Part of the cartoon showing red outlines and color codes |
Each piece is traced from the reverse side onto the paper backing of
Soft Fuse fusible web, cut out, fused to the back of my fabric (my own
hand dyed sateen), then cut out again and assembled. Lighter colors
underlap darker colors. I separate the fusible from the darker fabric
along the edge, insert the edge of the lighter fabric, and tack together
with a hot iron.
 |
| Hand dyed fabrics selected and labeled |
 |
| Pieces traced onto paper side of fusible web |
 |
| Puzzle pieces cut out of fabric |
The trick is to keep the paper backing under
everything or it will fuse to my drawing. I got about ¾ done in 4 long days, and the rest a few days later.
 |
| Starting to put the puzzle together |
 |
| 3/4 done |
Next step involves lots of
threadwork to blend the colors. Background will be solid black.
 |
| Ready for the next step |
 |
| Background fabric was added, and the whole top fused to DecorBond. Next, to choose thread colors. |
 |
| Threadwork in progress. |
 |
| More threadwork in progress. |
 |
| This glove was brand new a week ago. |
 |
| Threadwork almost complete. A zillion thread tails to pull to the backside. |
 |
| The backside |
 |
| Threadwork now complete |
 |
| Finished backside |
 |
The background was quilted a week ago, but...the more I thought about
it, the more unhappy I was with the quilting. Lots of little tucks, and
it did not flatten out with quilting.
Part of the problem was that the entire top was fused to a sheet of
DecorBond. So, the rows closest to the flower were ripped out, and I
carefully peeled up the edges of the black background and cut the decor
bond around the edges of the flower fabric. I laid towels on my cutting
table, dampened the flower on both sides, and ironed it flat. Had to cut
along the edges of several petals to get things flat, but it finally
is.
The black background fabric was a bit stark, so the new
background fabric is a bit more interesting, without being overpowering.
I basted thee flower to the back along the stitching lines, cut away
the fabric over the flower, leaving a good inch or so. With a lot of
careful clipping and trimming, I turned under the edge of the black,
pinned, and stitched it down close to the edge, working on 8-12 inches
at a a time. 5 hours later, the background was attached. It’s basted,
and the background is partially quilted now. And, this time, it’s flat! |


Quilting is finished! The back looks pretty cool, too.
Completed! Even added the hanging sleeve, label, and wood strip for hanging.